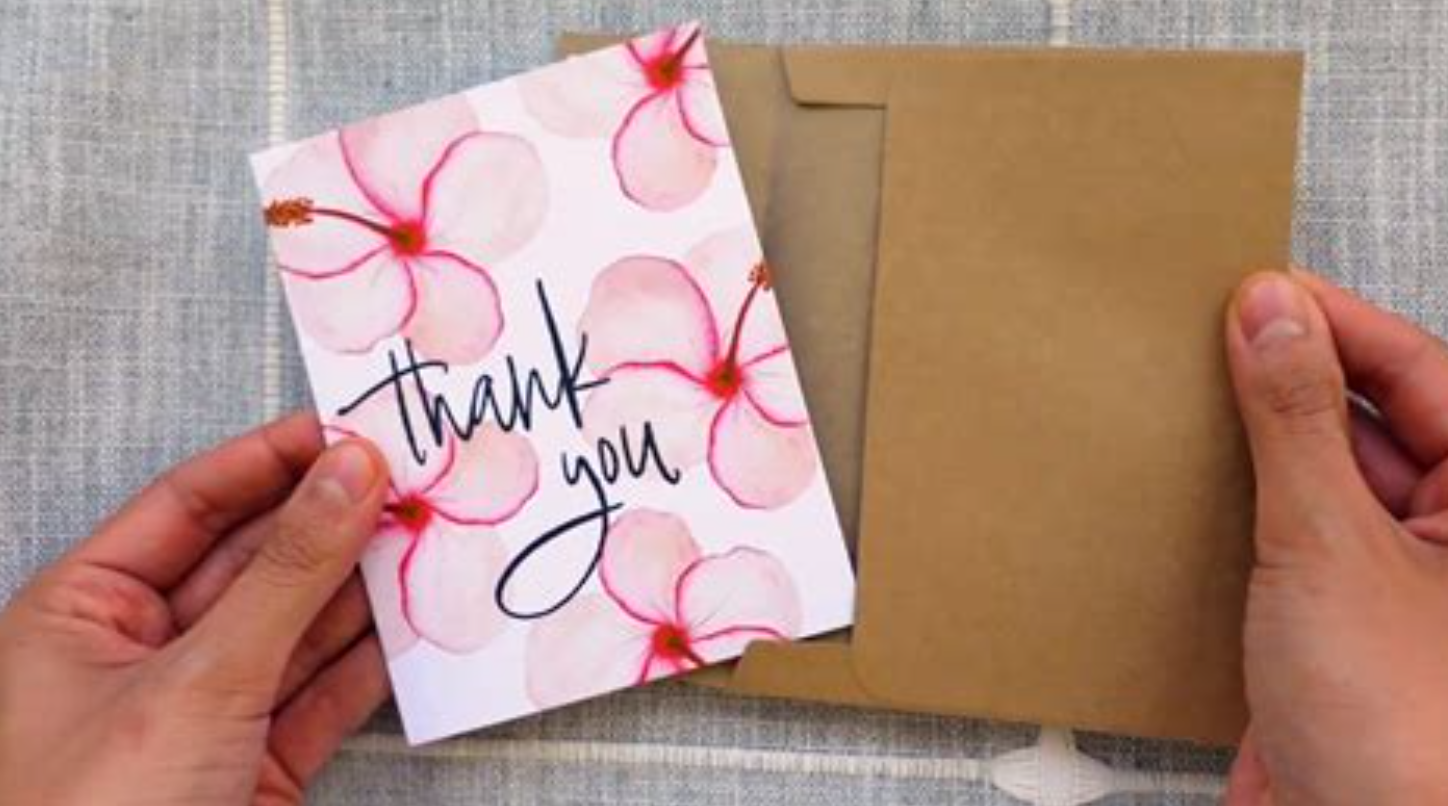
In a world where technology often replaces traditional forms of communication, there’s still something uniquely special about receiving a greeting card. Whether it’s for a birthday, holiday, or simply to say thank you, greeting cards show thought, care, and personal effort. The good news is that you don’t need to buy expensive cards from the store anymore. You can easily create and print greeting cards for free right from your home with just a few tools and a little creativity. Here’s how!
Why Create Your Own Greeting Card?
Before diving into how, let’s look at why creating your own greeting card is a great idea:
- Personal Touch: Store-bought cards often feel generic. A custom card can include your own message, inside jokes, or meaningful memories.
- Cost-Effective: Greeting cards at stores can cost anywhere between $2 to $10. Making your own is free!
- Creative Expression: Designing a card is a fun, creative activity for people of all ages.
- Convenience: Need a last-minute card? You can make one in just a few minutes using free online tools.
Now, let’s explore how you can create and print a greeting card for free without any graphic design experience.
Step 1: Choose a Free Design Tool
There are several free online platforms that offer customizable greeting card templates. Some of the most popular include:
1. Canva (www.canva.com)
Canva is a user-friendly design tool with thousands of greeting card templates. You can customize everything — from images and fonts to colors and layouts. After editing, you can download the card for free and print it.
2. Adobe Express (express.adobe.com)
Adobe Express offers high-quality templates and is perfect for users looking for sleek, professional-looking designs. It’s free to use with a basic Adobe account.
3. Greetings Island (www.greetingsisland.com)
This site focuses solely on greeting cards and invitations. You can edit a card, download it as a PDF or image, and print it at home.
4. FotoJet (www.fotojet.com)
FotoJet is great for quick edits and offers greeting card templates for various occasions. You don’t even need to sign up to start designing.
Step 2: Select a Template
Once you’ve chosen your platform, browse through the categories to find the card you need. Most tools let you filter templates by occasion:
- Birthdays
- Holidays (Christmas, Eid, New Year, etc.)
- Weddings and Anniversaries
- Baby Showers
- Thank You Cards
- Sympathy or Get Well Cards
- Congratulations
- Blank Cards (for custom messages)
Pick a design that fits your style or the personality of the person you’re sending it to.
Step 3: Customize the Card
Here’s where the fun begins. Most online tools allow you to:
Add Your Own Text:
- Write your own message or quote.
- Choose font styles, colors, and sizes to match your theme.
Upload Personal Photos:
- Add a personal photo to make the card extra special.
- Position the image creatively within the layout.
Modify the Design:
- Change the background color or pattern.
- Move or delete design elements.
- Add icons, stickers, or illustrations.
Pro Tip: Keep the message sincere and specific. A simple “Happy Birthday, John! Hope you have an amazing year ahead!” can go a long way.
Step 4: Download and Print the Card
After designing your card, it’s time to print it. Most platforms give you the option to download the file as a PDF or JPEG. For best results:
Printing Tips:
- Use High-Quality Paper: A thicker paper (like cardstock) makes the card feel more professional.
- Choose the Right Size: Most templates are made to be printed on standard A4 or letter-sized paper, folded in half.
- Use Color Printing: Unless you’re designing in black and white, make sure your printer is set to color mode.
- Test Print First: Always print a test version to check alignment, margins, and colors.
Step 5: Fold and Finish
Once printed:
- Cut the paper if necessary (some templates include crop marks).
- Fold the card carefully — use a ruler or flat edge to make a clean fold.
- Add any personal touches:
- Handwritten notes
- Stickers or embellishments
- Drawings or doodles
Put it in an envelope and it’s ready to go!
Bonus: Send as a Digital Greeting
If you don’t have access to a printer or prefer a digital format, you can simply send your card via email, WhatsApp, or social media. Most design platforms allow you to download your card in digital format, perfect for online sharing.
Best Occasions to Use DIY Greeting Cards
Here are a few great times to send your homemade cards:
- Birthdays: Personalize with a photo and message.
- Mother’s/Father’s Day: Add a heartfelt note or childhood memory.
- Valentine’s Day: Create a romantic card in your own words.
- Christmas & Holidays: Save money by printing your own holiday cards.
- Thank You Cards: Great for teachers, coworkers, and friends.
- Weddings: Send a custom congratulation card.
- Business/Clients: Add a professional touch with your company branding.
Advantages of Making Your Own Greeting Cards
1. Environmentally Friendly:
Instead of buying cards wrapped in plastic, you can print only what you need, or send a digital card.
2. Fast and Flexible:
You can make a card in under 10 minutes — anytime, anywhere.
3. Family Fun:
Creating cards is a fun family activity, especially with kids during holidays.
Final Thoughts
Creating and printing your own greeting cards has never been easier. With a variety of free tools and ready-made templates, you can design a heartfelt card in just a few minutes. Whether you want to express gratitude, celebrate a birthday, or just say hello — a custom card adds a personal touch that store-bought cards often lack.
So, next time you need a greeting card, don’t rush to the store. Just go online, pick a template, add your message, and print it out — all for free!
