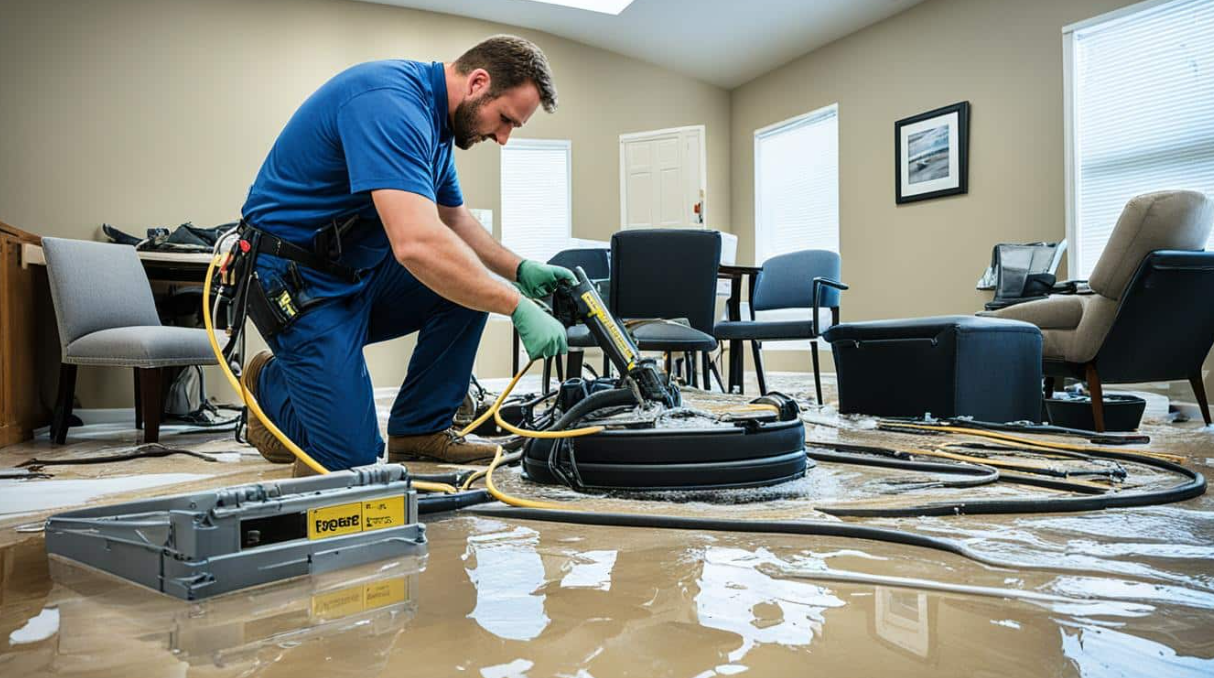
Water can disappear beneath floors and behind walls within minutes. The visible puddle may be gone, but damp insulation, framing, and subflooring can remain.
Restoration teams locate this hidden moisture, remove trapped water, create controlled drying conditions, and confirm that materials are dry before repairs begin.
Why Hidden Moisture Needs Professional Attention
When unexpected leaks or flooding occur, property owners often wonder about water damage restoration costs, especially when moisture reaches concealed building spaces. Professional detection and drying equipment can locate hidden water and support complete moisture removal, helping protect materials from mold, odors, swelling, and gradual deterioration.
Hidden moisture is often found in:
- Wall and ceiling cavities
- Carpet padding and subflooring
- Spaces beneath tile or hardwood
- Insulation around pipes
- Cabinets and bathroom vanities
- Areas behind baseboards
- Crawl spaces and attics
- Wood framing and floor joists
- Concrete and porous masonry
- Rooms next to or below the original leak
How Restoration Professionals Locate Hidden Moisture
A surface can feel dry while the material underneath remains wet. Technicians map the full affected area before deciding where extraction, airflow, or material removal is needed.
-
Tracing the Water Back to Its Source
Technicians first determine whether the water came from a pipe, appliance, roof, drain, or overflowing fixture. Each source produces a different pattern of movement.
The source must be stopped before drying begins. Source control comes first because equipment cannot dry a structure while water continues entering it.
-
Inspecting Beyond the Visible Damage
Water follows gravity but can also move sideways through drywall, flooring, and insulation. A small ceiling stain may hide a much wider wet area.
Technicians inspect adjoining rooms, lower floors, cabinets, closets, and wall cavities. A complete moisture map defines the actual restoration area.
-
Testing Materials With Moisture Meters
Pin meters place small probes into wood, drywall, or other materials. Electrical resistance between the probes helps estimate the moisture within that material.
Noninvasive meters scan larger areas without puncturing surfaces. Material-specific readings help technicians determine where closer testing or drying is required.
-
Scanning Surfaces With Thermal Cameras
Thermal cameras show temperature differences across walls, ceilings, and floors. Wet areas may appear cooler because evaporation lowers their surface temperature.
A thermal image does not prove that water is present. Temperature patterns provide clues that technicians confirm using moisture meters and direct inspection.
-
Measuring Indoor Humidity Conditions
Thermo hygrometers measure temperature and relative humidity. These readings show how much moisture is suspended in the air during the drying process.
Technicians compare conditions in affected and unaffected areas. Psychrometric measurements reveal whether evaporation and dehumidification are working together effectively.
How Hidden Moisture Is Removed From the Structure
Once the moisture boundary is established, the focus shifts to extraction and controlled drying. The method depends on the material, water source, exposure time, and level of contamination.
Extracting Standing and Trapped Water
Professional extractors remove bulk water from carpet, flooring, and accessible surfaces. Removing liquid water is much faster than waiting for it to evaporate.
Special floor tools can pull moisture from carpet padding and layered flooring. Early water extraction reduces drying time and limits further absorption.
Creating Access to Concealed Spaces
Baseboards, trim, or damaged sections of drywall may block airflow into wet cavities. Technicians remove only what is necessary to reach concealed moisture.
Small openings can sometimes provide enough access for drying hoses. Targeted access points expose trapped moisture while limiting unnecessary demolition and repair work.
Directing Air Into Wall Cavities
Ordinary air movers mainly affect open surfaces. Wall cavity systems use small hoses or focused airflow to reach damp framing and the back of drywall.
Moving air encourages trapped water to evaporate. Directed cavity drying may allow stable drywall and framing to dry without complete wall removal.
Removing Water Vapor With Dehumidifiers
Moisture enters the surrounding air as wet materials begin to dry. If that vapor remains indoors, evaporation slows and nearby materials may absorb it.
Commercial dehumidifiers collect water vapor and release drier air. Active humidity control keeps the drying process moving throughout the affected space.
Removing Materials That Cannot Be Saved
Some materials become unstable, contaminated, or permanently damaged after saturation. Wet insulation, swollen drywall, and contaminated padding may require disposal.
Technicians consider water quality, exposure time, and material condition. Professional water damage restoration services then replace removed components after structural drying is verified.
Additional Benefits of Controlled Structural Drying
Removing hidden moisture does more than improve the appearance of a damaged room. It also protects repairs, controls indoor conditions, and provides measurable evidence that drying is complete.
Reducing the Risk of Mold Growth
Mold needs moisture and a suitable food source. Drywall paper, wood, dust, carpet backing, and insulation can support growth when they remain damp.
The EPA recommends drying wet materials within 24 to 48 hours in many situations. Rapid moisture control reduces the conditions that allow mold to develop.
Protecting Structural Materials
Wood framing, subflooring, and drywall can swell, soften, or separate after prolonged exposure. Fast drying limits how far that physical damage progresses.
Controlled methods balance airflow, humidity, and temperature. Material preservation can reduce the amount of demolition needed during the restoration project.
Preventing Persistent Musty Odors
A musty smell often points to moisture inside porous materials or enclosed spaces. Surface cleaning may briefly mask it without correcting the source.
Drying the concealed area removes the conditions producing the odor. Source-based odor control is more effective than relying on sprays or fragrances.
Supporting a Claim
Restoration records can include photographs, moisture maps, equipment logs, and daily readings. These materials document the extent of the water damage.
Consistent records help explain why extraction, demolition, or drying equipment was necessary. Clear restoration documentation gives insurers evidence they can review.
Protecting New Repairs
Paint, flooring, cabinets, and insulation should not be installed over damp materials. Trapped moisture can damage adhesives, finishes, and newly installed components.
Final readings confirm when reconstruction can safely begin. Dry-before-covering verification reduces the chance of another repair becoming necessary later.
How Technicians Confirm the Property Is Dry
Equipment is not removed simply because a room looks or feels normal. Technicians use repeated measurements and comparison readings to confirm that affected materials have reached an appropriate drying target.
They typically verify:
- Moisture levels at previously marked locations
- Readings from framing, drywall, and subflooring
- Indoor temperature and relative humidity
- Conditions in adjoining rooms
- Wall cavities and spaces beneath flooring
- Progress against readings from unaffected materials
- The absence of newly discovered wet areas
- Whether reconstruction materials can be installed safely
| Material | Where Moisture Hides | Common Drying Method |
| Drywall | Gypsum core and wall cavity | Cavity airflow or selective removal |
| Carpet | Backing, padding, and subfloor | Extraction, lifting, and air movement |
| Hardwood | Board seams and subfloor | Floor drying system and dehumidification |
| Concrete | Pores within the slab | Airflow, heat control, and dehumidification |
| Insulation | Fibers inside walls or ceilings | Drying assessment or replacement |
| Cabinets | Toe kicks and enclosed voids | Access openings and directed airflow |
A restoration team also compares final readings with similar dry materials in an unaffected part of the building. A site-specific dry standard is more reliable than judging completion by appearance alone.
Conclusion
Hidden moisture removal requires more than collecting visible water. Technicians trace the source, map the damage, extract trapped water, open concealed spaces when needed, and control airflow and humidity. Repeated measurements show whether drywall, flooring, framing, and subflooring are actually drying. Verified dryness is the final safeguard before equipment is removed and reconstruction begins.